| HOME | TIPS & TRICKS | ARTICLES | RESOURCES | DIRECTORY | SITE MAP |
Adobe Photoshop Tutorials - Emphasizing Objects In this tutorial, we will discuss the enhancing of a photograph to either change the mood of the viewer, or to emphasize the object/product at hand.
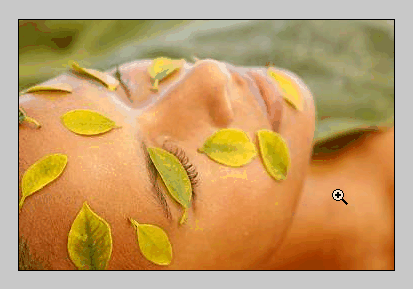
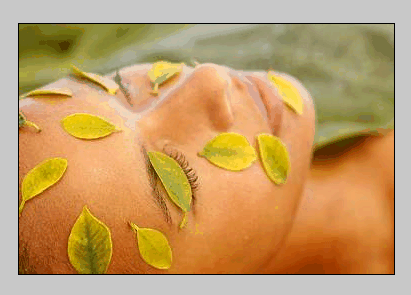
Even though the two images are essentially identical, in the second one, the leaves on the woman's face are obviously accentuated to emphasize them, whereas the woman's face appears less colorful. In this tutorial, I will explain how to achieve these effects in several simple, but smart steps. 1. The original image:
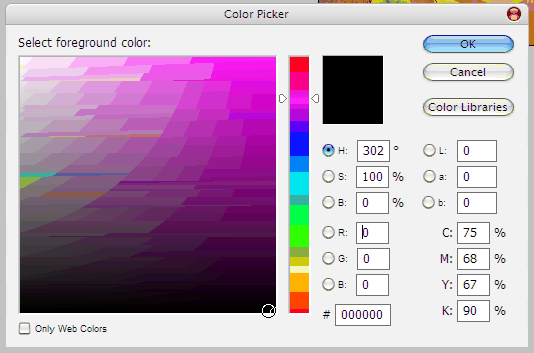
2. Create a new layer, and click the Bucket Fill tool. Use black as the color of choice.
3. Fill the whole layer, making it black.
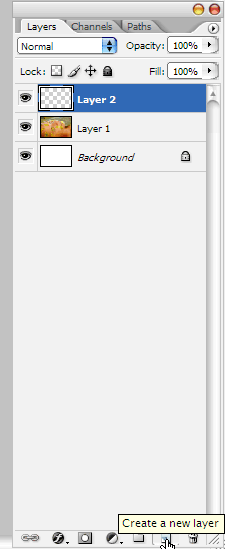
4. The layer panel should look something like this (ignore the background, it will not be used in this tutorial):
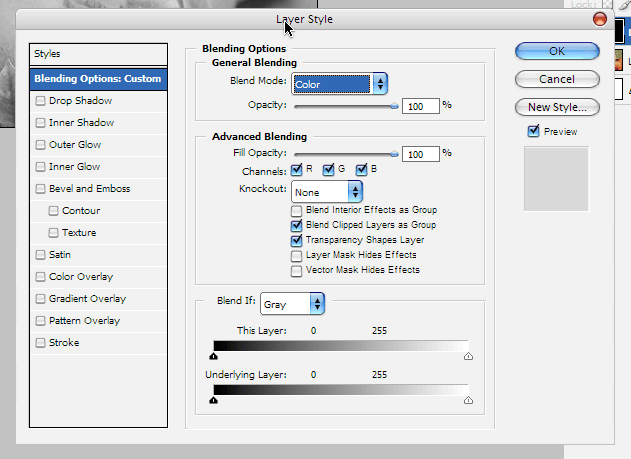
5. Right click on the black layer, and set the blend mode to Color:
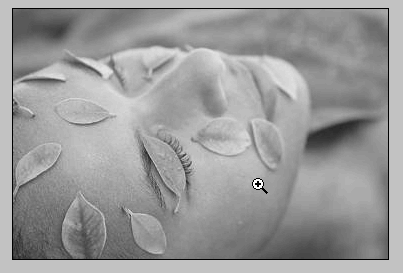
6. The picture should now show up again, not in color, but in black and white:
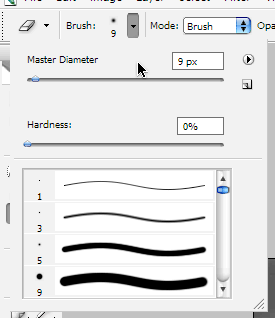
7. Select the eraser tool, and select a small-medium sized brush:
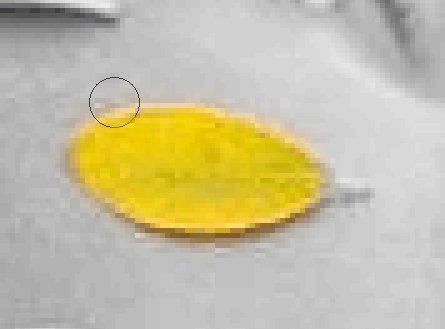
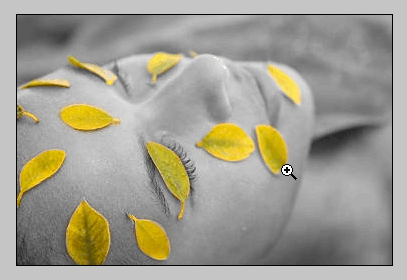
8. Zoom in. Now, start erasing the area of the object to be empasized (in my case, the leaves):
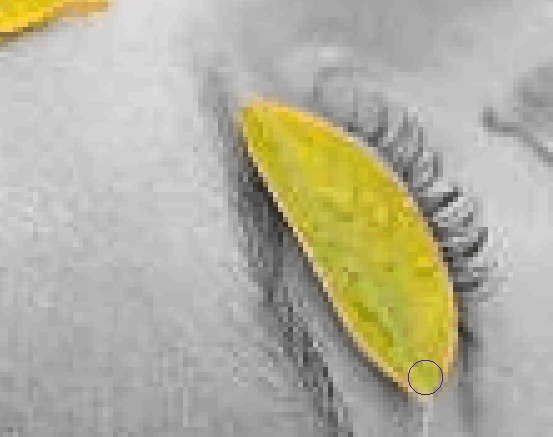
9. Hint: In smaller areas, don't forget to change the brush size, to avoid bleeding of color. For example, I used a 5pixel brush for the stems of the leaves.
10. Finally, your image should look something like this.
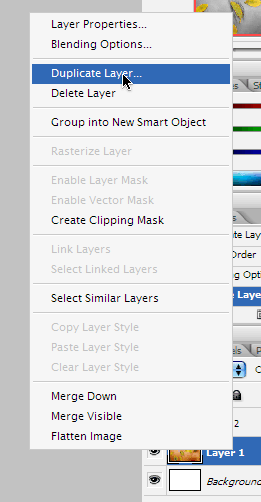
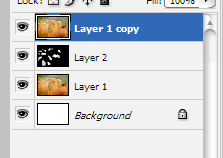
11. Although the black and white picture with the color leaves looks very "cool", this style tends to be a bit cliche. Duplicate the original image layer, and drag it on top of the layer stack.
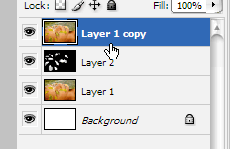
12. This is what the layer stack should look like:
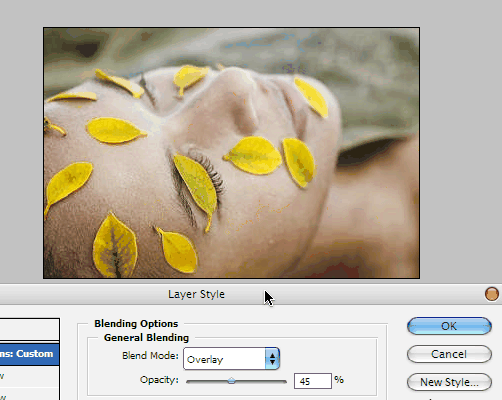
13. Right click on the Layer 1 copy, and lets change some layer settings to achieve a more uniform look, while still keeping the leaves emphasized.
14. My best settings were "Overlay" at a 45% opacity (as shown), if you would like the woman to be a tad more faded, reduce the opacity even more.
15. The last step:
Enjoy your professional-quality image. The method explained works wonders in the advertising industry. Picture taken from www.comstock.com for education puposes only. |
Copyright 2026 Freetechnique.com All rights reserved.
|
