| HOME | TIPS & TRICKS | ARTICLES | RESOURCES | DIRECTORY | SITE MAP |
| Creating an Island in Maya In this tutorial we're going to be learning how to create a really simple island. What we'll be covering is creating and resizing Poly and Nurbs Primitives, and also the Sculpt Surfaces too. So, let's get started.
Go back to Create>Polygon Primitives and this time create a Plane. For the Plane's width & height, put in 500. Now you have your very basic ocean (Figure 1).
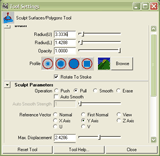
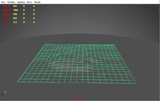
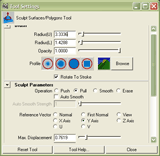
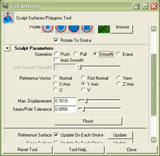
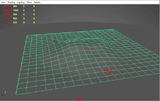
Enter the settings you see in Figure 4 and begin pulling the surface upwards creating the basic shape of your small island.You can see in Figure 5 how the surface is starting to deform. We want to build the bulk of our island mass at this stage. We'll be fine tuning things later on.If we again bring up the options for the Sculpt Surfaces Tool (Figure 3), and input the settings show in Figure 6, we can start to tweak our island's landscape a little.
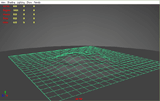
Now we begin to soften the edges of the island by going round the outer edge of the shape. You can also pull up some deformities in the main part of the island to get a more natural feel, and start to add a little custom landscape. You can see what I have so far in Figure 7.For a third time we need to get back into the Sculpt Surfaces Tool options (Figure 3) and use the settings shown in Figure 8.
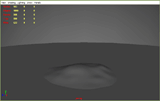
Once again we go back to our trusty move tool to push the island back down in Y so that only the raised part of the plane is show and the unalterd part is below the water (beneath the poly plane - Figure 10). Now our island looks like it's rising out of what will eventually become our ocean.
And that about does it for this tutorial; be sure to check the next tutorial to learn how to create a cartoony palm tree for your island. |
Copyright 2026 Freetechnique.com All rights reserved.
|


